

Door Won't Latch? Simple Fixes Every Homeowner Can Try

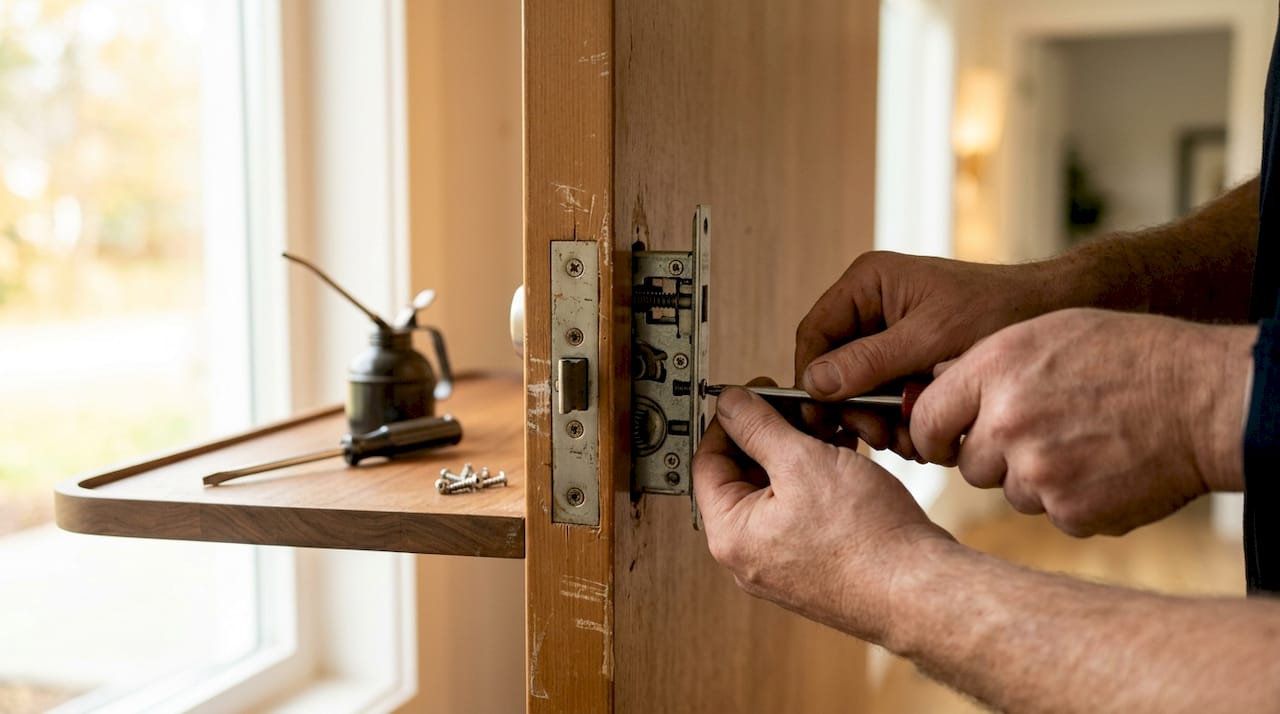
If your door won’t latch, start here: tighten all hinge screws, then run the lipstick test to see exactly where the latch is missing the strike plate. Those two steps alone resolve the majority of latching problems without buying a single part.
Tighten hinge screws first. Loose hinges let the door sag, pulling the latch away from the strike plate opening. A #2 Phillips screwdriver is all you need.
Run the lipstick test. Coat the latch face with lipstick or chalk, close the door gently until it “kisses” the jamb, then open it and read the transfer mark. The smear tells you exactly where the latch is landing.
Clean and lubricate the latch bolt. A sticky or sluggish bolt often just needs debris cleared and a shot of PTFE dry spray.
If those quick checks don’t fix it, the sections below walk you through every progressive repair in order, from a five-minute strike plate tab bend to a full lockset swap. DIY is realistic for most wood-door alignment issues. Call a licensed locksmith if you have a UPVC, composite, or fire-rated door, or if the latch mechanism itself is broken.
Pro Tip: Before buying any parts, diagnose first and buy second. A door that won’t latch is a security gap, and the fix is almost always cheaper than you expect once you know the actual cause.
Key Takeaways
A door that won’t latch is almost always fixable with a screwdriver, a lipstick test, and one of the progressive repairs in this guide, but exterior and specialty doors require a licensed locksmith.
Point | Details |
Diagnose before buying parts | Run the lipstick test and tighten hinge screws before purchasing any hardware. |
File vs. relocate the strike plate | Offsets under 1/8" can be filed; larger offsets require relocating the plate and filling the old mortise. |
Long screws prevent repeat sag | Replace short hinge screws with 3" wood screws that anchor into the framing stud for a lasting fix. |
UPVC and fire-rated doors need a pro | DIY on certified or composite doors can void warranties and reduce security. |
Locksmithfromiami covers Miami 24/7 | For failed latch cartridges, damaged frames, or specialty doors, local on-site help is available around the clock. |
Table of Contents
Why won’t your door latch? A step-by-step diagnostic
Pinpointing the cause before grabbing tools saves you from fixing the wrong thing. Work through these checks in order.
Watch the latch at eye level. Crouch or kneel so you can see the latch bolt and strike plate opening as the door closes. Note whether the latch hits the top edge, bottom edge, or face of the strike plate, or whether it misses the opening entirely.
Run the lipstick transfer test. Apply lipstick, a crayon, or chalk to the face of the latch bolt. Close the door until it just touches the jamb, then open it. The lipstick transfer mark shows precisely where the bolt contacts the strike plate or surrounding wood. A mark at the top of the opening means the door is sagging; a mark at the side means the door has shifted in or out.
Check hinge screws. Grip the door handle and lift gently. Any upward movement means the top hinge is loose. Run a screwdriver through every hinge screw. If screws spin without biting, the holes are stripped.
Inspect the door gap. Look at the gap between the door edge and the jamb all the way around. A gap that widens at the top and narrows at the bottom points to a sagging top hinge. A gap that is uniform but the latch still misses suggests the strike plate has shifted or the door has swollen.
Test the latch spring. Turn the handle and watch the bolt retract. It should snap back crisply when you release the handle. A sluggish or sticky bolt that barely retracts points to a dirty or worn latch mechanism, not an alignment problem.
Check for door stop interference. Look at the painted or rubber door stop strip on the jamb. If it has been painted over multiple times or the weatherstrip has compressed unevenly, it can prevent the door from closing far enough for the latch to engage.
What your results tell you:
Latch hits top or bottom of strike opening + sagging gap: hinge sag is the root cause.
Latch hits the face of the strike plate (not the opening): strike plate is misaligned left or right.
Bolt retracts slowly or not at all: latch mechanism is dirty or failing.
Door closes fine but latch rattles: strike plate tab is bent outward.
Gap is uniform but latch still misses: seasonal swelling or a warped frame.
Pro Tip: Take a photo of the lipstick mark before wiping it off. That image is your reference point for every adjustment that follows.
Fast fixes you can do in 5–15 minutes
Most non-latching doors are fixed by tightening screws, lubricating the latch, or making a small adjustment to the strike plate. Try these before anything more involved.
Clean and lubricate the latch bolt
Spray PTFE dry lubricant or rub graphite powder directly into the latch mechanism and along the bolt. Work the handle several times to distribute it. Avoid WD-40 or heavy oils on latch springs; they attract dust and gum up the spring over time. If the bolt is visibly dirty, wipe it with a dry cloth first.
Tighten all mounting screws
Go through every hinge screw, the knob or lever rose plate screws, and the strike plate screws. If a screw spins freely, the hole is stripped. Pack the hole with two or three toothpicks and a drop of wood glue, let it dry for an hour, then drive the original screw back in. For a longer-term fix on exterior doors, replace short screws with 3" wood screws that reach the structural framing behind the jamb.
Bend the strike plate tab
If the door rattles when closed but the latch does engage, the metal tab inside the strike plate is bent too far outward. Insert a flathead screwdriver into the strike plate opening and gently lever the tab inward by about 1/16". Close the door and test. Repeat in small increments until the rattle stops. This fix takes under two minutes and requires no hardware.
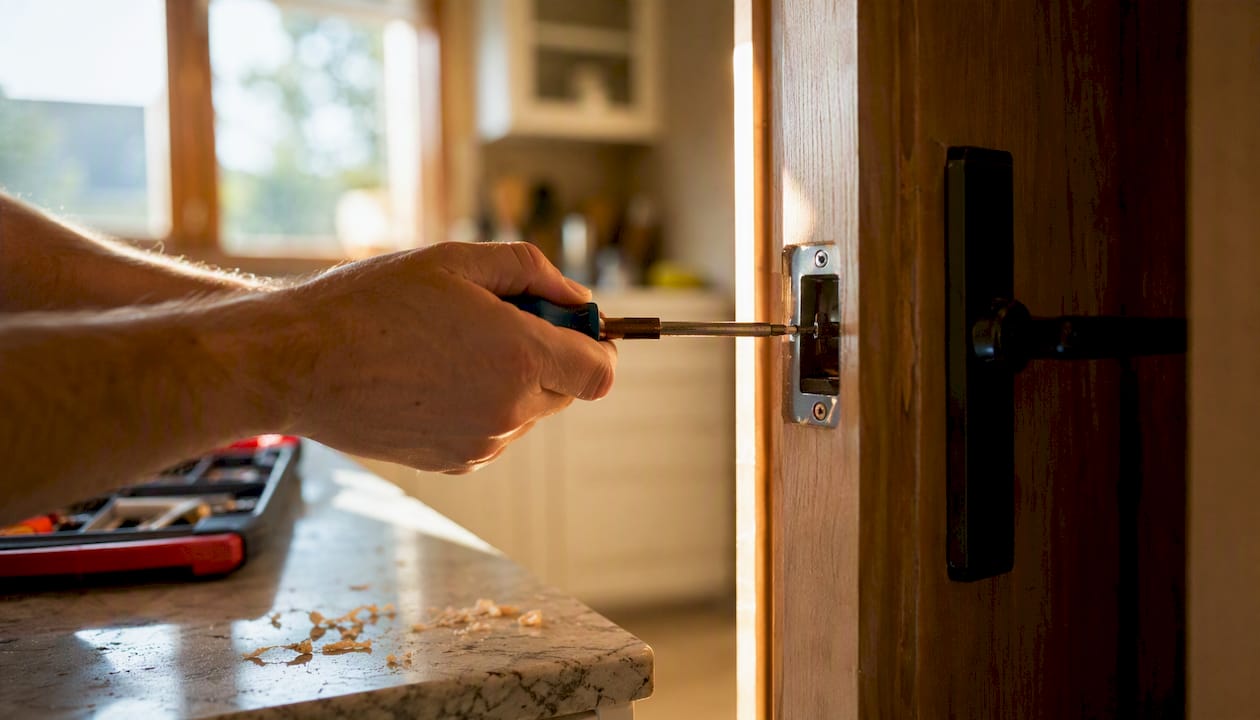
Test after each change. Close the door fully, engage the latch, and try to push the door open without turning the handle. If it holds, you’re done. If not, move to the next section.
How to fix door sag with hinge shims and long screws
Hinge problems are the most common cause of latch misalignment on interior wood doors. When the top hinge pulls away from the jamb, the door drops at the latch side. When the bottom hinge is loose, the door kicks outward at the bottom.
Identify which hinge is the problem. Use the gap inspection from the diagnostic section. A widening gap at the top latch corner means the top hinge is loose or the jamb wood is compressed.
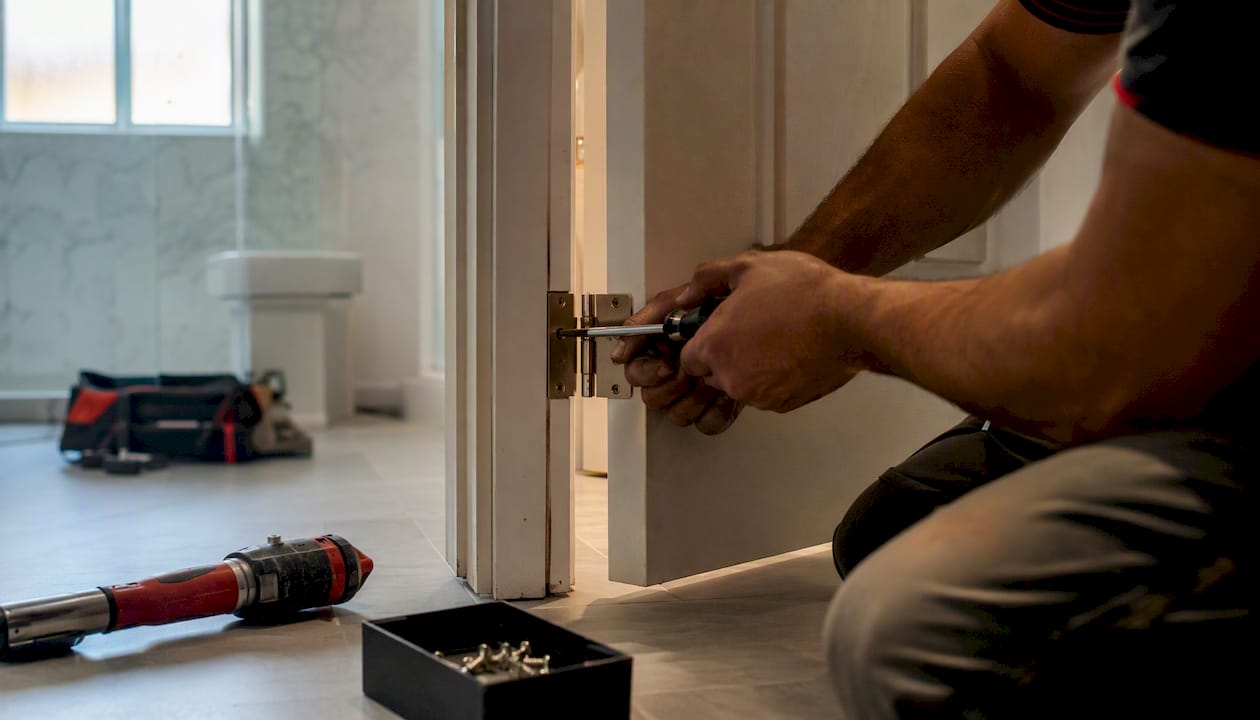
Remove the hinge pin safely. Tap the pin upward from below with a screwdriver and hammer. For a heavy door, have a second person hold the door steady. Never remove both hinge pins at once.
Try long screws first. Before shimming, replace the two center hinge screws on the problem hinge with 3" coarse-thread wood screws. Drive them slowly so they pull the jamb tight against the framing stud. This single step fixes a surprising number of sagging doors without any shimming.
If the latch is hitting too high on the strike plate, the long screw goes into the top hinge. If the latch is hitting too low, the long screw goes into the bottom hinge. Matching the screw placement to the direction of sag is what makes this fix work.
Add a shim if the hinge leaf sits proud. Cut a piece of thin cardboard or a commercial hinge shim to match the hinge leaf. Unscrew the hinge leaf, slip the shim behind it, and reattach. This pushes the door slightly toward the strike side, correcting a latch that is missing the opening by a small margin.
Rehang and test. Replace the hinge pin, close the door, and check the gap all the way around. Run the lipstick test again to confirm the latch now lines up with the strike plate opening.
Safety note: Always have a second person support the door when removing hinge pins. A falling door can injure fingers and damage flooring. Protect painted or stained finishes with a cloth between the hammer and the hinge pin.
Pro Tip: Photograph the door gap before and after adding shims. If you over-shim and create a new problem, the photo tells you exactly how much to remove.
How to fix a misaligned strike plate or enlarge the mortise
When the lipstick mark shows the latch is close to the opening but not quite entering it, the strike plate needs adjustment. The rule of thumb: if the offset is less than 1/8", file the opening. If it’s more than 1/8", relocate the plate.
Filing the strike plate opening (small offsets)
Remove the strike plate with a screwdriver.
Clamp it to a workbench or hold it firmly.
Use a half-round metal file to enlarge the opening in the direction the lipstick mark indicates. Work in short strokes and test frequently.
Reinstall and test before filing more. Removing too much material is irreversible.
Relocating the strike plate (larger offsets)
Following the iFixit step-by-step approach, remove the strike plate and use the lipstick mark as your guide for the new position.
Mark the new strike plate position with a pencil.
Score the outline with a utility knife.
Chisel the new mortise in small increments, testing the plate depth as you go. The plate face should sit flush with the jamb surface.
Fill the old screw holes with toothpicks and wood glue, or use a hardwood plug for a cleaner finish.
Drill new pilot holes and reinstall the strike plate.
For exterior doors and deadbolts, drive at least one long screw (3" or longer) through the strike plate into the framing stud. This anchors the plate against forced entry and keeps alignment stable long-term.
Tools you’ll use for this repair:
Half-round metal file
Wood chisel (3/4" wide works for most residential strike plates)
Hammer
Utility knife
Drill with a pilot bit
3" wood screws for exterior doors
Pro Tip: Always reinstall the strike plate with at least one screw before testing. A loose plate shifts during testing and gives you a false read on the alignment.
For sliding or patio doors, the hardware works differently. Many sliding-door strikes allow vertical adjustment without chiseling, so check the manufacturer’s guide before reaching for a chisel.
When should you replace the latch or full lockset?
Sometimes the latch mechanism itself is the problem, not the alignment. A worn or broken latch cartridge won’t respond to any amount of strike plate adjustment.
Signs the latch mechanism is failing:
The bolt retracts slowly or not at all when you turn the handle.
The handle turns but the bolt doesn’t move.
The bolt doesn’t spring back after retracting.
The latch face is visibly bent, cracked, or corroded.
Measurements to take before buying a replacement:
Backset: measure from the edge of the door to the center of the bore hole. Standard sizes are 2-3/8" and 2-3/4". Buying the wrong backset means the new latch won’t reach the strike plate.
Bore diameter: most residential doors use a 2-1/8" bore. Measure yours before ordering.
Latch faceplate size: measure the height and width of the existing faceplate so the new one covers the mortise cleanly.
Replacement steps:
Remove the door handles or knobs by unscrewing the rose plate or locating the set screw on the shank.
Unscrew the latch faceplate from the door edge and slide the latch cartridge out.
Slide the new cartridge in, confirm the angled face of the bolt points toward the door stop, and screw the faceplate down.
Reinstall the handles and test.
For passage sets and privacy levers, this is a straightforward swap. For exterior deadbolts, confirm the new hardware is weather-rated and matches the security grade of the original. If you’re upgrading to a high-security deadbolt or a smart lock, a licensed locksmith can confirm the installation meets local code and that the door frame can support the new hardware.
Pro Tip: Take the old latch cartridge to the hardware store with you. Matching it in person is faster and more reliable than measuring alone.
When DIY won’t work: clear signs you need a professional
Some door types and damage conditions make DIY repairs unsafe or ineffective. Knowing when to stop is as important as knowing how to start.
Door types that usually need a professional:
UPVC and composite doors use multi-point locking systems with multiple bolts engaging at once. Misalignment in these doors often requires specialist tools and manufacturer-specific parts. Improper DIY can void the door warranty and reduce security.
Fire-rated doors must maintain their certification. Any modification to the latch, frame, or hardware can compromise the fire rating. Always call a licensed contractor or locksmith for these.
Metal-frame doors require different anchoring methods than wood frames. Standard wood screws won’t hold.
Sliding patio doors have their own engagement hardware. Follow manufacturer guidance or call a specialist for sliding door lock repairs.
Structural and security reasons to call a locksmith:
The door frame timber is cracked or split near the hinge or strike plate.
Screw anchor points are stripped beyond what toothpicks and glue can fix.
You suspect the door was forced open at some point.
The deadbolt spring is failing or the cylinder is damaged.
What to have ready when you call:
Door type and material (wood, UPVC, composite, metal).
Photos of the door gap, the latch, and the strike plate.
Measurements: backset, bore diameter, door thickness.
A brief description of what you already tried.
Pro Tip: Improper DIY on a certified fire-rated or composite door can void the manufacturer’s warranty. If you’re unsure whether your door carries a fire or security rating, check the edge of the door for a certification label before starting any repair.
Tools and materials you’ll need for these repairs
You don’t need a full workshop. Most repairs in this guide require only what’s listed below.
Essential tools:
Phillips and flathead screwdrivers
Half-round metal file
Wood chisels (3/4" and 1" widths)
Hammer
Drill with pilot bits
Utility knife
Tape measure
Hardware and consumables:
3" coarse-thread wood screws (for hinges and strike plates on exterior doors)
Replacement strike plate (matching your existing plate size)
Latch cartridge (correct backset and bore size)
Toothpicks or golf tees plus wood glue (for stripped holes)
Wood filler or hardwood plugs (for old mortises)
Painter’s tape (to protect door finish during work)
Lubricants:
PTFE dry spray or graphite powder for latch bolts and springs. Both stay dry, don’t attract dust, and won’t degrade rubber weatherstrip.
Avoid petroleum-based oils like WD-40 on latch springs; they attract grit over time.
Safety items:
Safety glasses when filing or chiseling
Work gloves when handling sharp strike plate edges
A cloth or rag to protect door finishes from hammer marks
Pro Tip: Buy stainless steel screws for any exterior door hardware. Standard zinc screws corrode in humid climates like South Florida and can seize in the wood, making future repairs harder.
How long will this take, and what will it cost?
Here’s a realistic breakdown so you can decide whether to DIY now or call a pro.
DIY time estimates:
Tighten screws and lubricate latch: 5–15 minutes
Bend strike plate tab: under 5 minutes
Hinge shims or long-screw fix: 30–60 minutes
Strike plate relocation or new mortise: 30–90 minutes
Full lockset replacement: 30–60 minutes
Typical material costs:
Tightening and cleanup: near $0 (tools you likely own)
3" wood screws, toothpicks, wood glue: $2–$10
Replacement strike plate: $5–$25 depending on finish and security grade
New latch cartridge: varies by brand and security level; basic passage latches start around $10, heavy-duty deadbolts run considerably higher
Full lockset replacement: varies widely based on security grade and finish
Professional service costs vary by region, time of day, and door type. Emergency or after-hours calls cost more than scheduled daytime visits. Always request a quote before authorizing work. Regional labor rates in South Florida differ from national averages, so a local estimate from a licensed locksmith is the most reliable figure.
A short disclaimer: prices shift with material costs and market conditions. Get a current quote for any professional work rather than relying on any published range.
Simple maintenance habits that prevent latch problems
A short annual routine keeps most latch problems from developing in the first place.
Annual checklist:
Tighten all hinge screws and strike plate screws.
Apply PTFE dry spray or graphite to the latch bolt and the strike plate opening.
Check the door gap all the way around for changes from the previous year.
Inspect weatherstrip for compression or gaps that could affect how far the door closes.
Replace any short hinge screws on exterior doors with 3" screws as a preventive upgrade.
Seasonal adjustments to watch for:
Wood doors swell in humid months (typically late spring through summer in South Florida) and contract slightly in drier, cooler months. If a door that latches fine in winter starts sticking in July, humidity is the likely cause. Plane a small amount from the latch edge if swelling is consistent year after year, but wait until the dry season to confirm how much the door actually moves before removing wood permanently.
In humid months: check whether the door is binding at the top or latch edge before assuming a hardware problem.
In dry months: check whether gaps have widened enough that the latch no longer reaches the strike plate.
Year-round: if you notice a new gap or a new rub point, address it early. Small alignment shifts are easy to correct; ignored for a season, they become hinge sag or a split frame.
Pro Tip: The single best preventive upgrade for an exterior door is replacing the short factory hinge screws with 3" screws that reach the stud. It takes ten minutes and prevents years of sag-related latch problems.
A locksmith’s honest take on DIY door repairs
The quick checks in this guide genuinely work for the majority of residential wood doors. Tightening hinge screws and running the lipstick test takes less than ten minutes, and those two steps alone resolve a large share of the latching problems I see on service calls.
Where homeowners run into trouble is skipping the diagnostic step and going straight to buying parts. A new strike plate won’t fix a sagging hinge. A new latch cartridge won’t fix a misaligned strike plate. The diagnosis tells you which fix to make, and making the right fix the first time is always cheaper than correcting a wrong one.
The other place to be careful: exterior doors and anything with a multi-point lock. The security stakes are higher, the hardware is more complex, and a mistake on a fire-rated door can create a liability issue, not just a repair bill. For those doors, a professional visit is the more cost-effective choice even if the initial call-out fee feels like more than the job is worth.
Quick fixes are worth trying. Know when to stop.
When it’s time to call Locksmithfromiami for on-site help
Some latch problems are straightforward to diagnose but need professional hands to fix safely. If you have a UPVC or composite door, a fire-rated door, a cracked frame, a failed latch cartridge, or any sign of forced entry, the right move is a licensed technician, not another DIY attempt.

Locksmithfromiami serves homeowners and renters across Miami and Homestead, FL, with 24/7 emergency lockout response and on-site lock repair for residential and commercial doors. Before the technician arrives, have these ready: photos of the door gap and strike plate, your door measurements (backset, bore diameter, door thickness), and a brief note on what you already tried. That information cuts diagnostic time and gets your door secure faster. For non-emergency repairs, you can also review the full range of residential and commercial services and book a scheduled visit. Don’t leave an exterior door unsecured overnight. Call or book now.
Sources
The following sources back the guidance in this guide and are worth bookmarking for specific repairs.
Recommended
Comments