

Why Your Door Won't Lock and How to Fix It

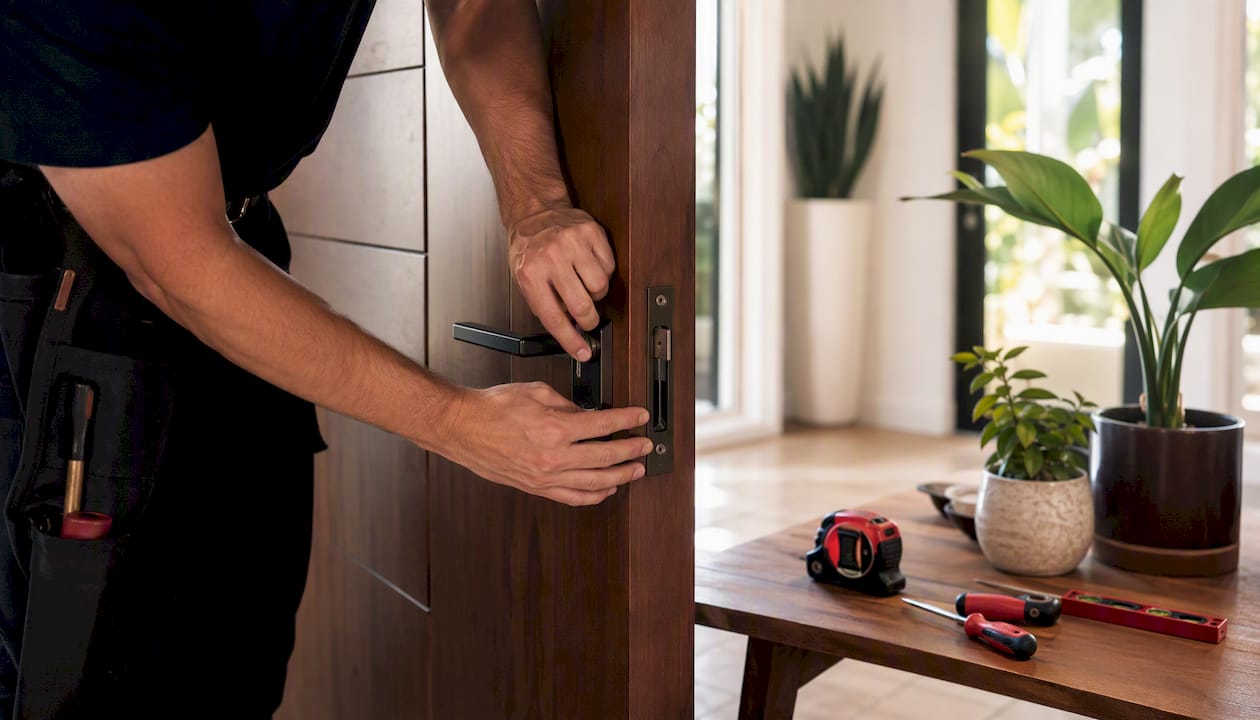
If your door won’t lock, the most likely cause is a misaligned latch that misses the strike plate, not a broken lock. Run this check first: open the door and try the lock. If it works freely, the problem is alignment, not the mechanism itself. Stop forcing the key or handle right now. Forcing a resistant lock can snap internal cams and turn a simple fix into a full lockset replacement.
Before you touch a screwdriver: Most residential lock failures trace back to wear, moisture, and settling, not tampering, as Armstrong’s research confirms. That means the fix is usually mechanical and manageable.
Three things to try right now:
Open-door test: Try the lock with the door open. Works fine? The issue is alignment.
Marker test: Rub a crayon or dry-erase marker on the latch bolt, close the door, and check where it marks the strike plate.
Spare key test: Try a spare key. If the lock still resists, the cylinder or mechanism may be at fault.
Key Takeaways
The fastest way to fix a door that won’t lock is to run the open-door test first, then use the 1/8-inch rule to decide between filing and relocating the strike plate.
Point | Details |
Run the open-door test first | If the lock works with the door open, the problem is alignment, not the mechanism. |
Use the 1/8-inch rule | File the strike if the offset is 1/8 inch or less; relocate it if the gap is larger. |
Replace short hinge screws | Swap factory screws for 3-inch wood screws to anchor the hinge into the framing. |
Know when to stop DIY | A key that spins freely or a deadbolt that won’t throw despite correct alignment needs a professional. |
Locksmithfromiami covers Miami 24/7 | Fast-response residential lock repair, strike relocation, and deadbolt replacement are available now. |
Table of Contents
What tools do you need before you start?
Gather these before opening anything up. You likely have most of them already.
Phillips and flathead screwdrivers
3-inch wood screws (coarse thread)
Half-round metal file
Chisel and hammer
Masking tape or painter’s tape
Pencil, crayon, or dry-erase marker
Silicone or PTFE spray lubricant (or powdered graphite for keyways)
Toothpicks and wood glue
Safety glasses and work gloves
Pro Tip: Keep a few 3-inch coarse-thread wood screws in your household toolkit. They fix most sagging-hinge problems in under 15 minutes and cost almost nothing.
How do you diagnose where the latch is missing the strike?
This is Step 1, and it saves you from fixing the wrong thing. Access Hardware’s guidance recommends the marker test as the fastest way to locate the exact contact point.
Run the open-door test. With the door open, operate the lock or turn the handle. If the latch extends and retracts smoothly, the mechanism is fine. The problem is structural alignment.
Apply the marker. Coat the latch bolt with a crayon, lipstick, or dry-erase marker. Close the door firmly and reopen it.
Read the mark. A mark low on the strike plate means the door has sagged. A mark high means the frame or strike has shifted upward. A centered mark that doesn’t engage fully means the opening is too shallow or too narrow.
Measure the offset. Use a ruler or tape measure. If the latch misses the strike opening by 1/8 inch or less, filing the strike is enough. If the offset exceeds 1/8 inch, you’ll need to relocate the strike plate.
Check for seasonal causes. Timber swells in humid months and shrinks in winter. If the problem is worse in summer, swelling is likely the culprit, not a permanent structural shift.
Pro Tip: Stick a strip of painter’s tape over the strike plate before applying the marker. The tape shows the contact point cleanly without leaving residue on your hardware.
The step-by-step approach from Centennial Glass confirms that diagnosing the contact point first prevents unnecessary parts replacement. Homeowners who skip this step often buy a new lockset when a five-minute filing job would have solved it.
How do you fix a sagging door with hinge adjustments?
Hinge sag is the single most common reason a latch misses its strike. The top hinge takes the most stress and is usually where the problem starts.
Inspect all hinges. Look for loose screws, screws that spin freely (stripped holes), and worn hinge knuckles with visible play.
Tighten every hinge screw. Start with the top hinge. Use a Phillips screwdriver and apply firm, steady pressure. If a screw tightens but the door still sags, the hole is stripped.
Replace short screws with 3-inch screws. Remove one screw at a time from the top hinge. Drive a 3-inch coarse-thread wood screw into the same hole. It will reach past the jamb into the structural framing, giving the hinge a solid anchor. Repeat for the remaining top-hinge screws.
Drill pilot holes first. A pilot hole slightly narrower than the screw shank prevents the jamb from splitting and keeps the screw driving straight. Without it, a long screw can pull the jamb out of square.
Add shims if needed. If the door still sits low after tightening, slide a thin cardboard or metal shim under the bottom hinge leaf. This tilts the door slightly upward on the latch side.
Test after each change. Close the door and check the latch position against the strike. Make one adjustment at a time.
Pro Tip: If the hinge knuckles show visible wear or the pin is loose, replace the hinge entirely. A worn knuckle allows lateral movement that no screw adjustment can correct.
When should you file the strike plate versus move it?
The 1/8-inch rule from Access Hardware keeps this decision simple: small offset, file it; large offset, move it.
Filing the strike (offset ≤ 1/8 inch):
Remove the strike plate with a screwdriver.
Clamp it lightly in a vise or hold it steady on a workbench.
Use a half-round metal file and remove material from the edge of the opening in the direction the latch is missing.
Work in small passes. Reinstall the plate and test after every two or three strokes.
Stop as soon as the latch engages cleanly. Removing more material than necessary weakens the plate.
Relocating the strike (offset > 1/8 inch):
Remove the strike plate and mark the new position using the marker-test contact point as your guide.
Fill the old screw holes with toothpicks dipped in wood glue. Let them dry fully, then snap off the excess flush with the jamb. This Old House documents this exact technique as the reliable way to give new screws a solid bite.
Use a chisel to extend or recut the mortise to the new position. Work in shallow passes, as iFixit’s stepwise guidance recommends, and check the depth frequently.
For deadbolts, Schlage advises that the bolt pocket should be deep enough for the bolt to seat fully, roughly 1 inch, and that using the supplied strike plate prevents bolt drag.
Drill pilot holes, then install the strike plate in its new position with fresh screws.
Pro Tip: Test the latch with the door open after reinstalling the strike. If the bolt slides in without resistance, the depth is correct. Resistance means the pocket needs another pass with the chisel.
What if the door stop or paint buildup is blocking closure?
This fix is easy to overlook. If the door closes but the latch sits just short of the strike, or the frame rubs before the door fully seats, the door stop molding or layers of old paint may be the obstruction.
Check the gap. Close the door slowly and watch where it stops. If the latch bolt is visible and not entering the strike, the door is stopping short of its correct closed position.
Score the paint joint. Run a utility knife along the seam between the door stop and the jamb. Layers of paint can effectively move the stop inward by a small but significant amount.
Loosen the door stop. Use a thin pry bar or stiff putty knife to gently separate the stop from the jamb. Work slowly to preserve the nails for reuse.
Shift the stop toward the hinge side. Move it just enough so the door closes fully before the stop contacts the door face. A 1/16-inch shift is often all it takes.
Reattach and test. Nail the stop back in place and close the door. The latch should now engage the strike fully.
Pro Tip: Move the door stop in one small increment, test, and only move it again if needed. Overcorrecting leaves a visible gap between the stop and the door face.
How do you fix a sticky or sluggish latch?
A sticky latch behaves differently from an alignment problem. The open-door test tells you which one you’re dealing with: if the latch bolt moves slowly or partially even with the door open, the mechanism itself needs attention.
Manually extend the bolt. Push the latch bolt in and release it. It should spring back immediately. Sluggish return means debris, dried lubricant, or a worn spring inside the cartridge.
Remove the latch faceplate. Unscrew the two faceplate screws on the door edge. Pull the latch cartridge out of the door.
Clean the cartridge. Wipe away old lubricant and debris with a dry cloth. Avoid soaking the mechanism in penetrating oil like WD-40; it attracts dust and gums up over time.
Lubricate correctly. Spray PTFE or silicone lubricant into the latch mechanism. For the keyway, use powdered graphite, not oil-based sprays, which can clog the cylinder pins.
Repair stripped screw holes. If the faceplate screws spin freely, insert two or three toothpicks with wood glue into the hole, let dry, and trim flush. The new screws will grip solidly.
Replace the cartridge if needed. If the bolt still moves slowly after cleaning and lubrication, the internal spring is worn. Latch cartridges are inexpensive and available at any hardware store. Match the backset measurement (typically 2-3/8 inches or 2-3/4 inches) before purchasing.
Warning: Do not force a seized latch repeatedly. Repeated force breaks the internal cams and tailpiece, which turns a $15 cartridge replacement into a full lockset swap.
Pro Tip: A quick way to confirm the spring is the problem: remove the cartridge and push the bolt by hand. If it moves freely but won’t spring back, the spring is done. Replace the cartridge.
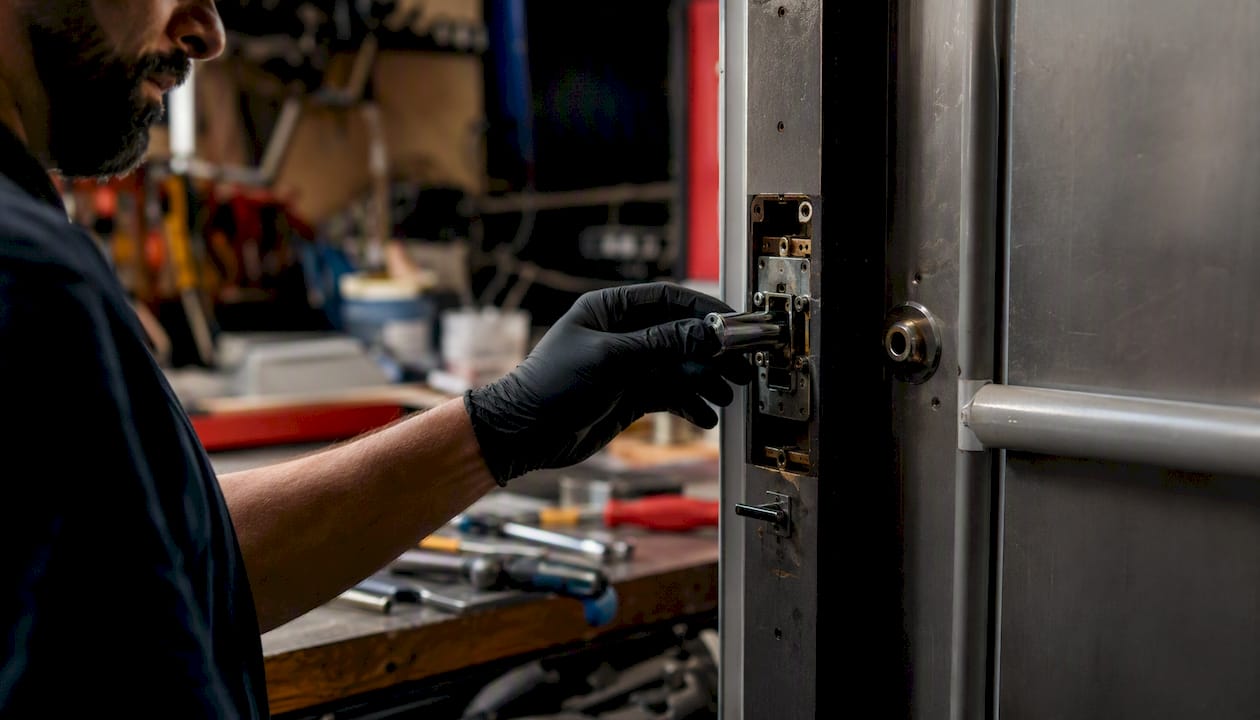
When should you stop DIY and call a locksmith?
Some symptoms point clearly to internal mechanical failure that no amount of filing or lubrication will fix. Surelockkey’s diagnostic guide maps specific behaviors to specific failure types.
Stop DIY and call a professional if you notice any of these:
The key spins 360° with no resistance (the tailpiece or cam is disconnected or broken)
A key is broken inside the cylinder
The deadbolt won’t throw even after correct alignment is confirmed
A multi-point locking mechanism fails at one or more points
The door frame shows visible damage from a forced entry attempt
The lock cylinder turns partially then binds, regardless of which key you use
What a professional will do on arrival:
Run the open-door test and internal mechanism diagnosis
Replace worn or broken components (cylinder, cam, tailpiece, cartridge)
Reinforce hinges with long screws into framing if sag is present
Relocate or replace the strike plate with proper mortise work
Assess whether the lockset can be repaired or needs full replacement
Questions worth asking your locksmith before work begins: What parts are needed? Is there a warranty on the repair? How long will it take? Can the lock be repaired, or does it need replacement?
Pro Tip: Take a photo of the strike plate, hinges, and latch before the locksmith arrives. Note whether the problem is worse in summer or winter. This information cuts diagnosis time significantly and can lower your service cost.
For home lockout situations or a broken key in the lock, calling a professional immediately is always the right call.
What does DIY versus professional repair actually cost?
Setting realistic expectations helps you choose the right path from the start.
Fix | Skill Level | Typical Time | Cost Shape |
Tighten hinge screws | Beginner | 5 minutes | DIY: near zero |
Replace with 3" screws | Beginner | 15–20 minutes | DIY: budget-friendly |
File the strike plate | Beginner | 20–30 minutes | DIY: budget-friendly |
Relocate the strike plate | Intermediate | 45 minutes | DIY: low; pro: moderate |
Replace latch cartridge | Beginner | 20–30 minutes | DIY: low |
Rehang a door | Advanced | 2–4 hours | Pro recommended |
Internal mechanism repair | Professional | 30 minutes on-site | Pro: moderate to higher |
A few things to keep in mind:
Multi-point lock failures and frame repairs always take longer and cost more than single-point fixes.
Professional work comes with a warranty on parts and labor; DIY does not.
Seasonal swelling problems may recur annually without addressing the root cause (humidity control, weatherstripping, or door material).
How do you keep the problem from coming back?
Routine maintenance takes less than 30 minutes a year and prevents most lock failures.
Quarterly checks:
Tighten all hinge screws by hand. If any spin freely, replace with 3-inch screws immediately.
Apply a light spray of PTFE or silicone lubricant to the latch mechanism.
Test the deadbolt: it should throw and retract smoothly with no grinding.
Inspect the strike plate for fresh scrape marks, which signal renewed misalignment.
Seasonal checks:
Before humid months: verify the door closes without resistance and adjust weatherstripping if the door has swollen.
Before winter: check that the door hasn’t contracted enough to rattle in the frame, which can loosen strike screws over time.
Pro Tip: Scheduled maintenance avoids emergency locksmith calls and keeps hardware warranties valid. Most lock manufacturers require evidence of reasonable maintenance for warranty claims to hold.
A locksmith’s honest take on DIY door lock repairs
Most homeowners who call about a door lock not working have already made the problem harder to fix. Not because they tried, but because they forced it. A latch that misses its strike by 1/8 inch is a 20-minute file job. The same latch after someone has hammered the door shut repeatedly for a week can mean a cracked jamb, a bent strike, and a stripped latch cartridge.
The open-door test is the single most useful piece of knowledge in this guide. If the lock works with the door open, nothing inside the lock is broken. That fact alone should stop most people from buying a new lockset they don’t need.
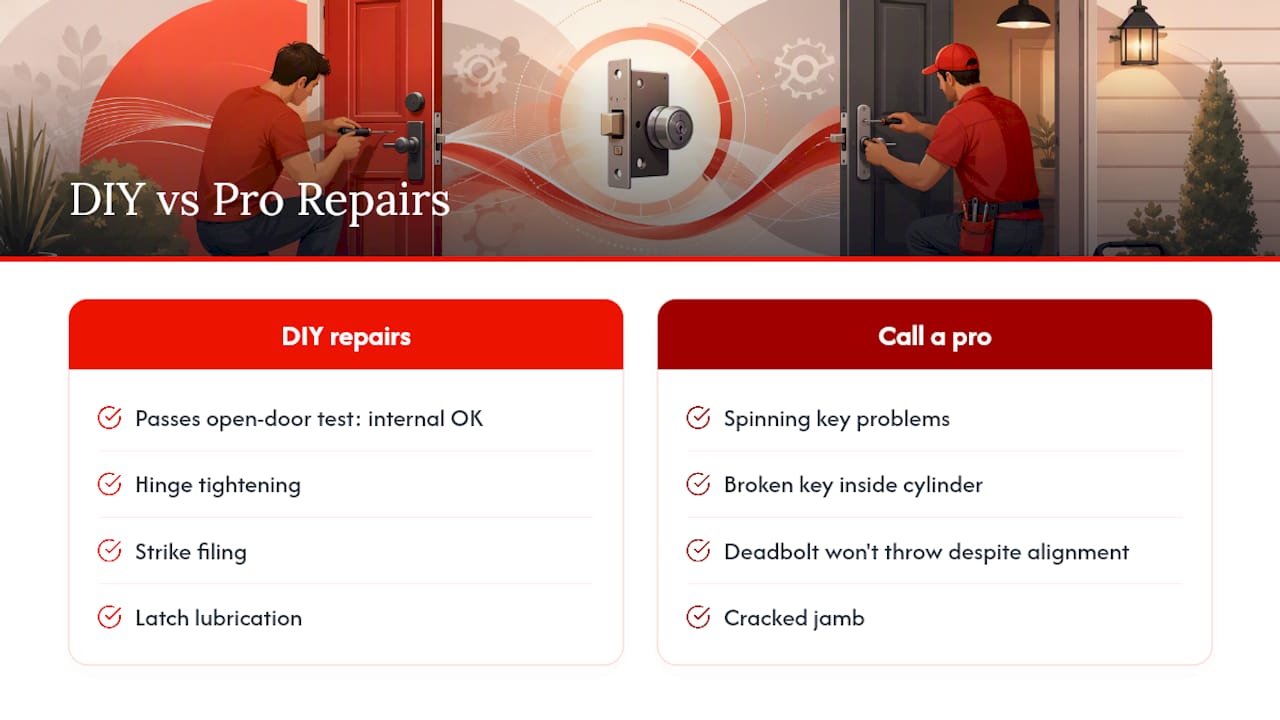
Where I’d draw the line for DIY: hinge tightening, strike filing, latch lubrication, and cartridge swaps are all reasonable for a careful homeowner. Chiseling a new mortise is manageable if you work slowly. Anything involving a spinning key, a broken key inside the cylinder, or a deadbolt that won’t throw despite correct alignment is a call-a-pro situation. Those symptoms point to internal failures that require disassembly tools and replacement parts a hardware store won’t stock.
One more thing: seasonal problems are not emergencies. A door that sticks every August and frees up in October is a humidity and weatherstripping issue, not a security failure. Treat it as maintenance, not a crisis.
Locksmithfromiami is ready when the fix goes beyond DIY
When the marker test, hinge screws, and strike adjustments don’t solve it, you need a technician who can diagnose the internal mechanism and carry the right parts on the truck. Locksmithfromiami provides 24/7 residential lock repair across Miami and Homestead, FL, with fast response times and no guesswork on parts.

Services available for door lock failures include emergency lockout response, residential lock repair and replacement, deadbolt installation, strike plate relocation, hinge reinforcement with long-screw framing anchors, and multi-point mechanism service. Every repair comes with experienced technicians and a commitment to getting your door secure on the first visit.
Check the full range of residential and commercial locksmith services or request home lockout assistance right now. A technician is available around the clock.
Sources
These sources shaped the procedures and safety guidance in this guide:
Recommended
Comments