

Garage Door Lock Replacement: DIY Steps or Call a Pro

Updated: 2 days ago
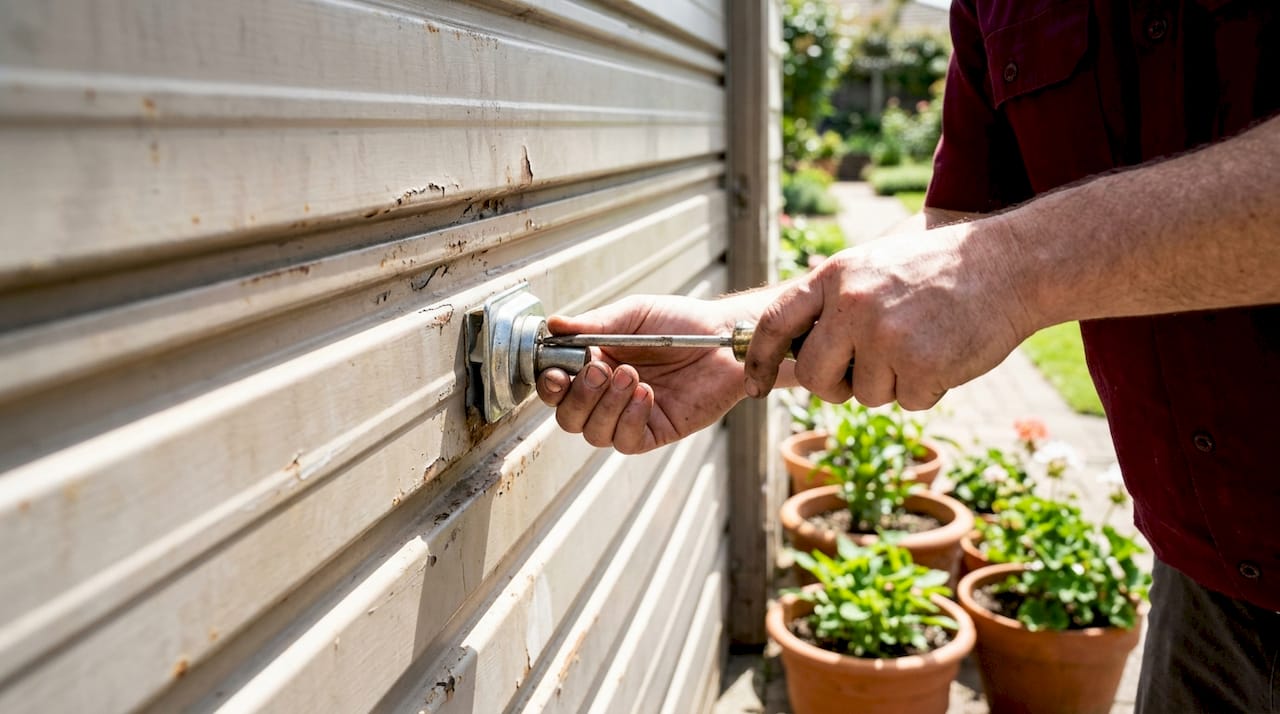
Yes, you can replace most garage door locks yourself. If your lock uses a standard slide, T-handle, or keyed cylinder, expect to spend a moderate amount on parts and about half an hour to an hour and a half with basic tools. The exceptions are motorized deadbolts, smart retrofit systems, or a cylinder so corroded the mounting screws won’t budge. Your next move is simple: measure your current lock’s backset, crossbore, and door thickness, then either order a matching kit or call a locksmith to handle it in one visit. Progressive Locksmith - Cerrajero Miami sees both scenarios daily, and the split usually comes down to whether the lock is purely mechanical or tied into your opener’s electronics.
Key Takeaways
Most manual garage door locks can be replaced in under 90 minutes with correctly measured parts, while motorized or smart systems usually call for professional installation.
Point | Details |
Measure before you buy | Confirm backset, crossbore diameter, and door thickness to avoid ordering an incompatible lock kit. |
Try lubrication first | Use graphite or dry lubricant for sticking locks; avoid oil-based sprays that attract dust |
DIY manual locks confidently | Slide locks, T-handles, and keyed cylinders typically take 30 to 90 minutes with basic tools. |
Hire a pro for motorized systems | Automatic deadbolts and smart retrofits involving opener electronics carry more risk if mismatched. |
Snug screws, don’t crank them | Overtightening on thin steel panels is the top cause of stripped threads and bigger repair jobs. |
Call Progressive Locksmith - Cerrajero Miami for edge cases | Stripped hardware, corrosion, or opener-integrated locks are handled same-day with compatible parts on-site. |
Table of Contents
What Type of Garage Door Lock Do You Have?
Before you buy anything, you need to know exactly what’s mounted on your door. Garage door lock replacement projects go sideways more often from buying the wrong part than from any installation mistake.
Most residential garage doors use one of these lock styles:
Slide or side locks — a manual bolt mounted on the inside edge of the door, usually paired with a matching bolt on the opposite side. You slide it by hand; no key involved unless it’s padlocked from outside.
T-handle locks — the classic exterior handle you twist to retract a spring-loaded latch. Common on older sectional doors and easy to spot by the T-shaped exterior grip.
Keyed cylinder deadbolts — an outside keyhole paired with an inside thumbturn, functioning much like a front door deadbolt but mounted through a thinner steel panel.
Rim locks — surface-mounted units that don’t require boring through the panel, often used as an add-on security layer.
Padlocks on a hasp — simple and cheap, but the weakest option against forced entry.
Automatic or motor-driven deadbolts — hardware that locks the door to the track itself, often triggered by the opener or a companion app.
Smart retrofit deadbolts — Wi-Fi or Bluetooth-enabled units layered onto an existing opener for remote monitoring and virtual access.
Look for a battery compartment, wiring, or a small electronics housing near the lock. If you see any of those, you’re dealing with an automatic or smart system, not a purely mechanical one. Also check whether your opener already locks the door automatically when it closes. That interaction matters because swapping a mechanical lock on a door with motorized locking hardware can create conflicts between the two systems. Door thickness and panel type (sectional versus roller) also determine which replacement kits will actually fit, so note those before you shop.
Tools and Parts You’ll Need Before You Start
Buying the wrong cylinder size is the single most common reason DIY garage lock installation projects stall halfway through. Get your shopping list right the first time.
Tools:
Phillips screwdriver and a flathead
Adjustable wrench
Cordless drill with a #2 Phillips bit
1/8 inch pilot drill bit (for new screw holes, if needed)
Tape measure
Digital calipers (optional, but useful for crossbore accuracy)
Parts:
Replacement lock kit or cylinder matched to your door
Long mounting screw (the connecting bolt between interior and exterior hardware)
Escutcheon or trim plate
Strike plate or retrofit bolt, depending on lock type
Mounting shims for uneven panels
Replacement keys
Door-thickness adapter, if your new kit doesn’t natively fit your panel gauge
Before you order, measure three things: the backset (distance from the door edge to the center of the keyhole), the crossbore diameter (the hole the cylinder sits in), and your door’s actual thickness. These three measurements prevent the majority of fit failures DIYers run into when a kit arrives and doesn’t seat properly. Most quality lock kits list compatible thickness and crossbore ranges right on the packaging or spec sheet, so check that against your numbers before you check out.
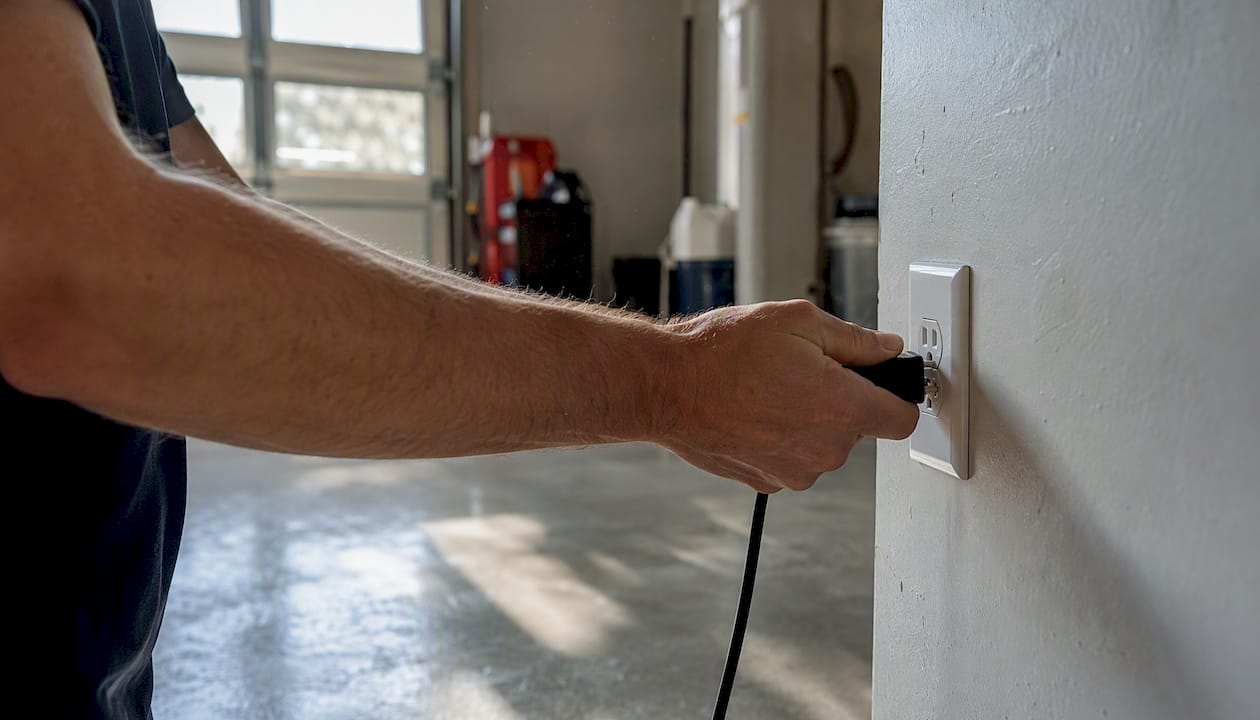
One safety note that’s easy to skip: disconnect your garage door opener from power before starting work near the lock mechanism. Even a manual lock swap can put your hands near a spring-loaded panel, and you don’t want the opener cycling while you’re mid-repair.
How Do You Replace a Manual Garage Door Lock?
The goal here is straightforward: pull the old chassis, drop in the new one, and confirm the key and thumbturn both work smoothly through several full cycles. Most straightforward swaps take a competent DIYer 30 to 90 minutes.
Before you touch a screwdriver, confirm your lock type, take your three measurements, check for corrosion around the mounting screws, and cut power to the opener.
Remove the interior trim plate covering the mounting screw. It’s usually held by two small screws or a friction fit.
Back out the long machine screw connecting the interior thumbturn to the exterior cylinder.
Withdraw the old lock chassis from both sides of the door panel.
Insert the new chassis, feeding the exterior cylinder through the crossbore first.
Align the tailpiece so it seats correctly into the interior thumbturn mechanism.
Snug the mounting screw by hand. Stop as soon as it feels firm; do not crank it down with a power driver.
Test the key from outside and the thumbturn from inside, cycling the lock at least five or six times before calling the job done.
Pro Tip: If the old lock was sticking before you replaced it, don’t reach for WD-40 on the new cylinder. Oil-based sprays attract dust and grit, which clogs the pins over time. Use a graphite powder or a dry PTFE lock lubricant instead, and if lubrication alone doesn’t fix a sticking mechanism, the cylinder or latch has likely worn out and needs replacing rather than repeated oiling.
Watch for these issues after installation:
Sticking bolt — usually a lubrication or alignment issue; try graphite first before assuming the part is defective.
Loose handle — often just a mounting screw that backed out; snug it, but don’t overtighten.
Misaligned strike — if the bolt doesn’t seat cleanly into the frame, loosen the mounting screws slightly, adjust the plate position, and retighten.
The most common DIY mistake is overtightening the mounting screw against a thin steel panel, which strips threads and causes bigger repairs Snug it by hand with a manual screwdriver rather than muscling it down with a drill.
Should You DIY a Smart or Automatic Garage Deadbolt?
Sometimes. Motorized and smart locking systems have more mechanical and electronic complexity, so DIY suitability varies
GarageWise is an automatic deadbolt that physically secures the door to the track, controlled through a companion app with auto-lock features and remote status checks. Because it’s designed for sectional doors with torsion springs and adds real mechanical resistance against forced lifting rather than just remote convenience, installation involves working near spring-loaded hardware. Confirm compatibility with your door type before ordering, and if you’re not confident working around torsion springs, this is a job worth handing to a professional.
OHD Anywhere takes a different approach entirely. It’s a Wi-Fi retrofit kit that adds remote control, alerts, and virtual keys to your existing opener rather than adding a physical bolt. It’s compatible with many openers manufactured since 1993, and the manufacturer publishes a compatibility list worth checking against your opener model before you buy. Because it connects to opener electronics rather than mechanical hardware, installation is generally more approachable for a confident DIYer, though it’s still worth verifying your opener model against that list first.
Use these rules to decide:
If tied to your opener’s electronics, verify compatibility carefully or consider professional installation
If it involves motorized deadbolt hardware near torsion springs, hire a pro unless you have direct experience with spring-loaded door mechanisms.
If it’s a Wi-Fi or Bluetooth add-on with no mechanical bolt, DIY installation is usually reasonable for anyone comfortable with basic home networking.
After any smart or automatic install, test the auto-engage function when the door closes, confirm the app shows accurate lock status, and verify door-position sensors are reporting correctly. Skipping this test cycle is how homeowners end up with a lock that looks armed but isn’t.
What Does Garage Door Lock Replacement Cost?
Your total cost depends heavily on whether you’re buying a basic cylinder or a full smart deadbolt system, and whether you’re doing the labor yourself.
Approach | Typical Cost Range | Time Estimate |
Parts-only (manual cylinder or T-handle) | Budget-friendly, low-cost range | 30 to 90 minutes to install |
Full DIY replacement (parts + basic tools) | Slightly above parts-only cost | 30–90 minutes |
Professional install (manual lock) | Moderate, includes labor | Usually one visit, under an hour |
Automatic/smart deadbolt (parts + professional install) | Higher due to hardware and integration | 1–2 hours depending on opener compatibility |
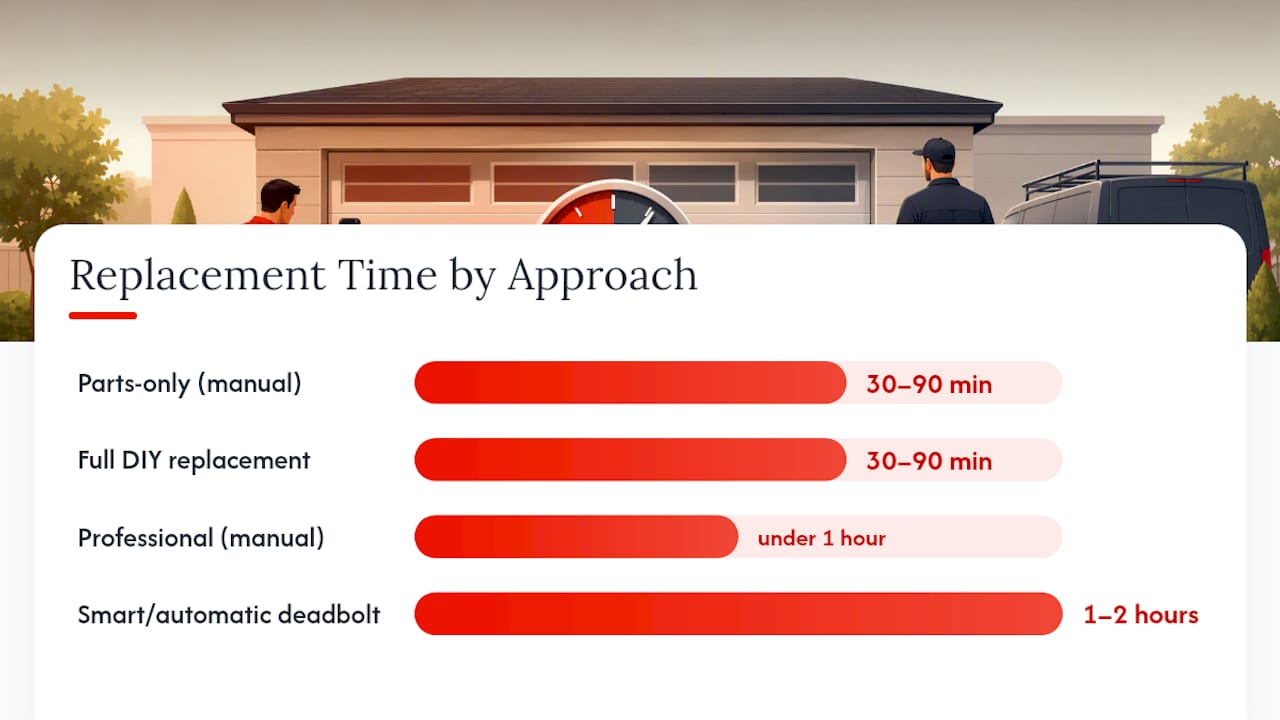
Basic replacement cylinders and locks are inexpensive parts-only purchases, while advanced or retrofit-heavy jobs push the total higher once professional labor is added. DIY saves money on labor, but the savings shrink fast if you order the wrong part twice or damage a thin door panel trying to force a fit.
Most replacement lock kits carry a factory warranty on the hardware itself, typically covering defects for a year or more. Professional installation usually adds a separate workmanship warranty on the labor, which matters if a mounting issue shows up weeks later.
Don’t toss your old lock in the trash without a thought. Metal lock bodies and cylinders are recyclable at most scrap metal facilities, and if your old system included batteries (common with smart retrofits), those need to go to a battery recycling drop-off rather than regular curbside trash.
When Should You Call a Locksmith Instead of DIYing?
Some jobs are genuinely simple. Others aren’t, and knowing the difference before you start drilling saves you a second trip to the hardware store, or worse, a damaged door panel.
Call a professional if you’re dealing with any of these:
A motorized deadbolt or opener-integrated locking system
A stripped cylinder that won’t turn or come free
Mounting threads that have already stripped from a previous overtightened screw
Missing keys after a move-in, where rekeying the whole system makes more sense than guessing at compatibility
Heavy corrosion that’s seized the hardware in place
Opener integration problems where the lock and the motor seem to be fighting each other
Persistent binding that doesn’t resolve after proper lubrication
Watch for these red flags specifically: a handle that wobbles after you’ve mounted it, threads that strip the moment you apply torque, electronics that need programming you don’t have access to, or a door thickness that doesn’t match any standard retrofit kit on the shelf. Any one of these usually means the mechanical fix has already failed and you need someone who carries a wider range of hardware.
When you do call, ask these questions:
What’s your typical response time for a residential garage lock call?
Do you offer a warranty on labor, and how long does it last?
Have you installed smart retrofits like automatic deadbolts or Wi-Fi opener kits before?
Can you give me an itemized estimate before starting the work?
Is rekeying possible instead of a full replacement, and would that save me money?
Will I get a written invoice for the visit?
A properly equipped locksmith should arrive with a range of compatible cylinders already on the truck, assess your specific hardware, complete the replacement or rekey on-site, and run the lock through several test cycles with your opener before calling the job finished. That’s the standard for any garage door lock installation done right the first time.
How Do You Maintain a Lock After Replacing It?
A new lock installed carelessly fails just as fast as an old one nobody maintained. A little upkeep once a year prevents most of the callouts locksmiths see on locks that are barely a year old.
Run through this checklist annually:
Inspect the cylinder and bolt for visible wear or rust
Clean out old grit and apply fresh graphite lubricant
Check mounting screws for looseness and snug them by hand, never with a power driver
Replace a weathered strike plate and upgrade to 3 inch structural screws for better reinforcement against forced entry
Pro Tip: If a bolt is sticking, don’t assume you need a new lock. Try graphite powder first, work the bolt through a dozen cycles by hand, and check for alignment issues at the strike plate before you write off the hardware entirely.
A loose escutcheon plate is usually just a matter of retightening the two small screws holding it flush. To protect cylinders from Florida humidity and moisture buildup, a light coat of dry lubricant every few months goes a long way toward preventing the internal seizing that eventually forces a full replacement.
For broader security, think in layers rather than relying on one lock. Combining a strong mechanical lock with a modern opener using rolling-code remotes closes off the most common attack vector on garage doors. Side entry doors deserve particular attention, since they’re commonly weaker than the main overhead panel and benefit from a dedicated deadbolt plus a monitored contact sensor. If you want a professional set of eyes on that monitoring layer, services like alarm response monitoring pair well with a hardened mechanical lock.
How Do You Tell if a Lock Needs Replacing or Just Repair?
Not every sticking or stiff lock needs a full teardown. Before you order parts, spend five minutes assessing what’s actually wrong.
Start with the bolt itself. If it retracts and extends smoothly by hand but sticks only when the key turns, that’s usually a cylinder pin issue, often fixable with graphite lubricant. If the bolt feels gritty or grinds even when you move it manually with no key involved, you’re likely looking at internal wear that lubrication won’t solve.
Check for visible corrosion next. Surface rust on the exterior cylinder face is cosmetic and doesn’t necessarily mean failure. Rust inside the keyway, or flaking metal around the crossbore, usually means moisture has been sitting inside the mechanism for a while, and that kind of internal corrosion rarely responds to cleaning alone.
Test the key fit. A key that goes in stiff, requires wiggling, or doesn’t turn smoothly even when freshly cut points to worn pins inside the cylinder, not a bad key. Try a spare key if you have one. If both keys behave the same way, the cylinder is the problem.
Finally, check the mounting hardware itself. If screws are loose despite repeated tightening, or if you notice the screw holes have visibly widened in the door panel, that’s a sign the thin steel has stripped out from prior overtightening. That’s a structural issue with the door panel, not the lock, and it typically requires a backing plate or professional reinforcement rather than a simple part swap.
A Locksmith’s Take on DIY vs. Professional Installation
Most garage door lock replacement jobs really are simple enough to hand a homeowner a screwdriver and walk away. The mechanical swap, the alignment, the test cycles, none of it requires special training if you take your measurements seriously and don’t rush the mounting screws.
Where I see homeowners get burned is the overtightening problem. Thin-gauge steel panels don’t forgive a power drill set too aggressively. I’ve seen simple 45 minute lock swaps turn into full panel repairs because someone cranked a screw down with a cordless driver instead of snugging it by hand, and the threads gave out in the steel itself. That kind of damage almost always ends up needing a locksmith anyway, except now it’s a bigger job than the original lock swap would have been.
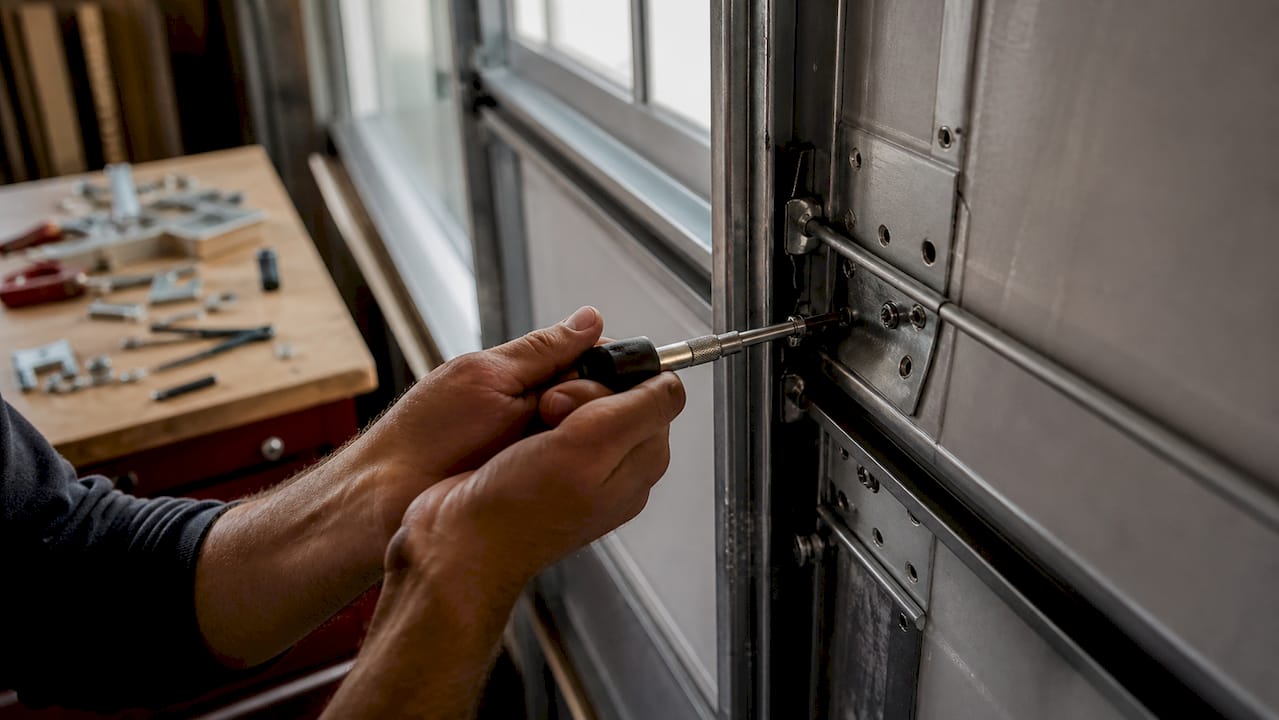
A professional adds real value in three specific situations: speed when you need it same-day, correct part matching when your door is an unusual thickness or an older model with discontinued hardware, and opener programming when you’re installing anything with electronics involved. Progressive Locksmith - Cerrajero Miami handles all three regularly across Homestead and the surrounding Miami-Dade area, and the calls that come in after a failed DIY attempt almost always trace back to one of those three gaps rather than a lack of effort on the homeowner’s part.
Need a Locksmith for Your Garage Door Lock?
Progressive Locksmith - Cerrajero Miami stocks compatible cylinders and lock kits on the truck for same-day replacement, which means you skip the trial-and-error of ordering parts online and hoping they fit your door’s crossbore and thickness. That’s the real advantage over a solo hardware store run: no return trips, no guessing at compatibility, and no waiting on a shipment when your lock is already failing.
When you call, expect a defined arrival window, an on-site diagnosis of your specific lock and door type, and a written estimate before any work starts. From there, you choose between a straightforward lock replacement or a rekey if you’re worried about old keys floating around, and every job wraps up with the lock tested through multiple cycles alongside your opener. Motorized deadbolts and Wi-Fi retrofit installs get the same treatment, including compatibility verification with your existing opener before anything gets mounted.
Workmanship is backed by warranty, and pricing is laid out before you commit to anything. If your lock is stripped, corroded, tied into opener electronics, or you’d simply rather have it done right the first time, book a service visit or browse the full range of locksmith services available across Homestead and the greater Miami area.
Where to Check Compatibility and Learn More
A few resources are worth bookmarking before you commit to a specific lock or retrofit kit, especially if your door is an unusual size or your opener is on the older side.
The Garage Log’s install guide walks through measurement standards and lubricant recommendations in more technical detail than most product listings provide.
Overhead Door Parts lists lock kit contents and compatible thickness ranges, useful for cross-checking before you order.
GarageWise’s product page covers compatibility requirements for automatic deadbolts on sectional, torsion-spring doors.
OHD Anywhere’s manufacturer page includes the opener compatibility list for their Wi-Fi retrofit kit.
CNET’s garage security guide covers layered security strategies beyond the lock itself, including opener upgrades and side-door protection.
If you’re weighing smart access options beyond a garage lock, this comparison of smart locker alternatives covers adjacent access-control tradeoffs worth understanding.
Frequently Asked Questions
Can I replace a garage door lock myself without any locksmith experience? Yes, for standard manual locks like slide bolts, T-handles, or keyed cylinders. If you can measure accurately and use a screwdriver without overtightening, most homeowners complete this in under 90 minutes.
How much does garage door lock replacement typically cost? Parts-only replacements for basic cylinders run on the lower end of the price scale, while professional installation or smart deadbolt systems cost more due to labor and hardware complexity. Exact pricing varies by lock type and your local market.
What’s the difference between GarageWise and OHD Anywhere? GarageWise is a mechanical automatic deadbolt that physically locks the door to the track for added forced-entry resistance. OHD Anywhere is a Wi-Fi retrofit that adds remote monitoring and virtual keys to your existing opener without adding a separate mechanical bolt.
Why shouldn’t I use WD-40 on a sticking garage lock? Oil-based lubricants attract dust and debris, which builds up inside the cylinder over time and makes sticking worse. Graphite powder or a dry PTFE lubricant keeps the mechanism clean without that buildup.
When is it not worth attempting a DIY garage lock replacement? Skip the DIY route if you’re dealing with a motorized deadbolt, a stripped cylinder, corroded hardware that won’t budge, or mounting threads already stripped from a prior repair. Those situations usually need professional tools and compatible replacement parts on hand.
Sources
Recommended
Comments